 |
| Miss Oetken's Spanish Folk Art Guitar |
First students made texture and painted paper to mimic the painted Folk Art guitars. We used 2 sheets of heavy 12x18 white drawing paper and put our NAME IN THE MIDDLE ON BACKwith our class number ON BOTH. SO important management wise to get it in the middle (for cutting out later, the name would disappear and get cut off!) For painted paper I have all different colors of paint: A different color at each table with a a texture roller and a texture stamper.
 |
| a student applying paint with a paintbrush to the roller texture tool |
 |
| texture stamping on top with a new color |
 |
| look how cool the comb texture effect is! Pink was the base color, then tourqoise on top, then combed through when wet |
 |
| yellow and tourquoise on top combed through |
 |
| yellow and yellow-orange dot texture with roller |
The next art class when both papers are dry, we looked at and talked about the different parts of a Spanish accoustic guitar: The headstock (the end where the tuning pegs are), the neck (the long part), the body (the big, main part of the guitar), the soundhole, the bridge, tuning keys, strings, and pegs. I drew a diagram on the board labeling the parts, and then the steps of the project.
Turn both papers over so the name side/white side is up. Decide which piece is going to be the for the body, and which piece is going to be for the neck, headstock, and bridge is going to be on.
On one of the pieces, draw a LARGE rectangle for the headstock, a small rectangle for the bridge, circle for sound hole, and a long line along the edge for the neck.
On the other piece on the white side up, I told students to make a large oval on the bottom stretching to all the sides. Then draw another smaller egg sitting on top. Now that both are drawn it's time to cut out! Warn students not to cut through the middle of the body by accident! Oopsies-there's always tape:)
 |
| the name and class stay in the middle when you cut out:) |
Now it's time to glue and assemble, once everything is cut out! The headstock creates a "t" at the top of the neck. I also encouraged students to bring up scraps to put in a box incase they wanted to pick another color for the bridge...just to create some contrast and color!
 |
| large buttons for the ''tuning keys/pegs" |
Then for final touches, add a couple buttons for detail and decorate with paper, sequins,and more!
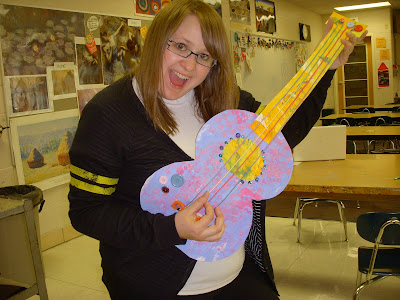
Look at my students amazing guitars! We are so going to have to play some spanish guitar music to strum to once they're finished!
 |
| Miss Oetken likes to rock out too! |


No comments:
Post a Comment